
In this easy step-by-step tutorial and beginners guide, you will learn how to make paper beads from scratch. We will also demonstrate making two paper bead jewelry (paper bead bracelets and earrings) using the round paper beads we have made. We love sharing papercraft projects because papers are one of the most popular craft supplies and it’s also available in every household. So far, we have crafted paper flowers, origami paper crafts, paper recycling projects, and much more. Wouldn’t it be fun if we crafted paper beads this time? We’re here with a very easy, quick, and fun project to show you how to make paper beads in a few minutes.
Table of Contents show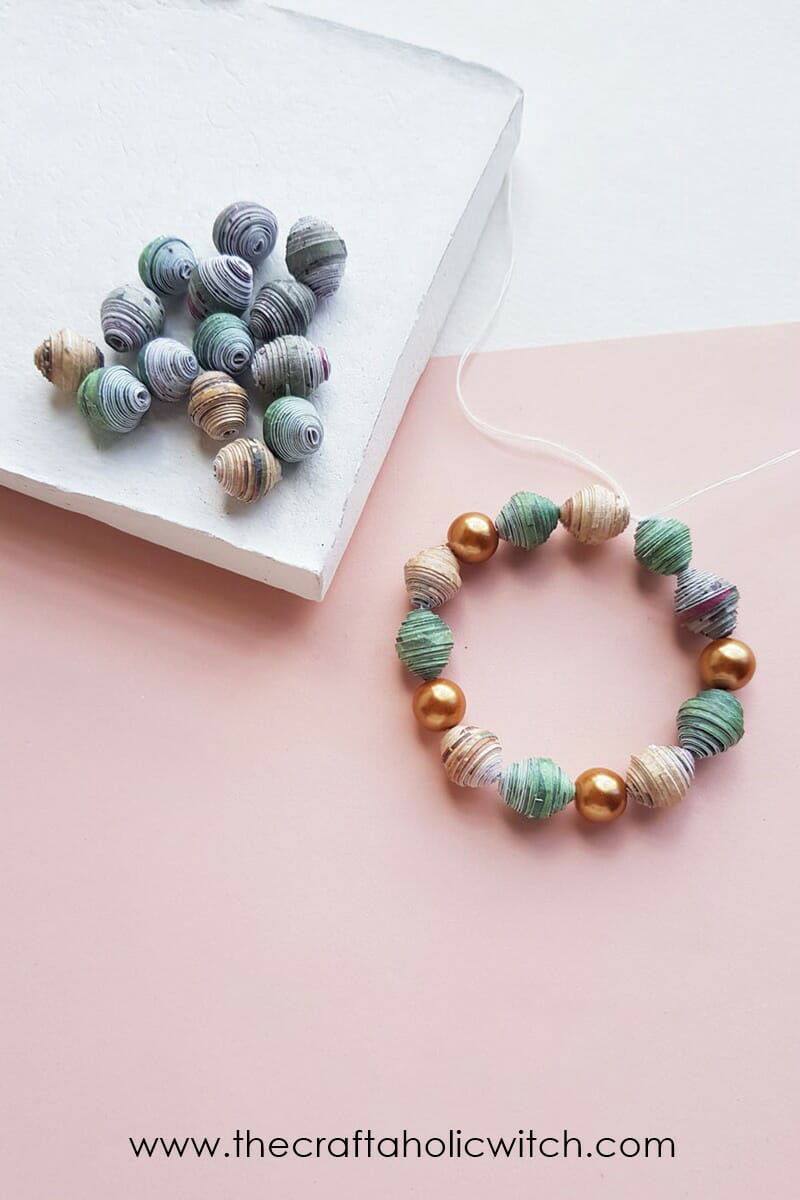
We tried to keep this paper bead-making guide as simple, easy, and beginner-friendly as possible. The instructions are divided into several and clear steps so that you can learn how to make paper beads even if it’s your first attempt at crafting paper beads. We will also show you how to make two easy paper beads pieces of jewelry (bracelets and earrings) using the round paper beads that we are about to craft. Preparing the strips may take a while as you will need to trace and cut the strips neatly. Coiling the strip to make a bead doesn’t take much time; so, to coil each bead consider that you’ll need a minute. If you spare an hour for this craft, you can make enough beads to craft several jewelry pieces. A set of 30 sheets of printed cardstock paper costs around $6 and you can craft approximately 1600 1cm diameter round paper beads. But of course, we don’t need that many paper beads at one go! You can use the cardstock sheets for other crafts as well. A slotted quilling tool is around $1 or less, but not more than a dollar. So, on average, the cost for this particular craft won’t cross $5. This is definitely an investment worth making, by the end of this project you’ll know how to make paper beads and also craft a few pieces of jewelry.
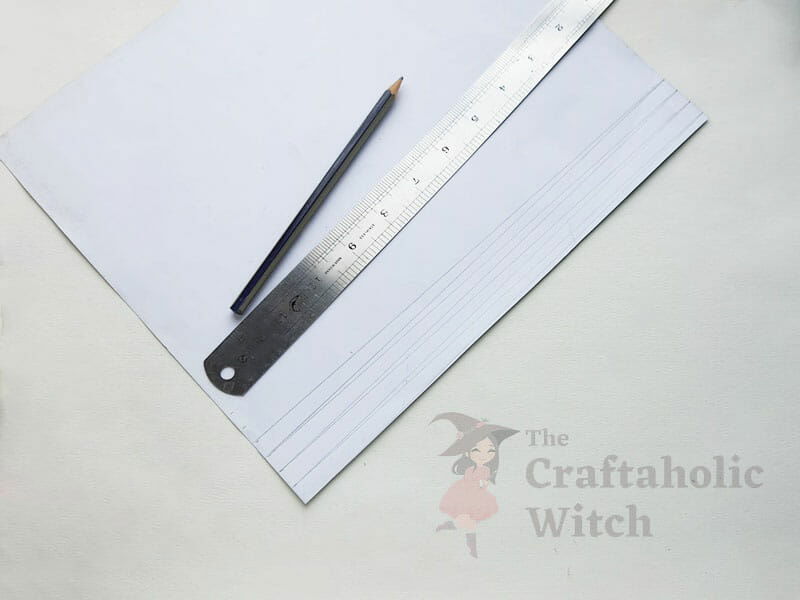
To make the paper beads we’re using printed cardstock papers. You can use all sorts of papers to make paper beads, we’re using printed and colorful 200 gsm cardstock papers. If you’re using too thin paper, you will need longer pieces of strips to make a round bead and if you use thick cardstock paper, the round shape won’t turn out so good. So, for 200 gsm cardstock paper, you will need to cut out triangle strips, 30 cm long and 1 cm on the bottom side. Use a pencil to trace the triangles on the plain side of the cardstock paper. If you’re using usual craft papers, you can join 2 or 3 papers together to get the cardstock paper’s thickness.
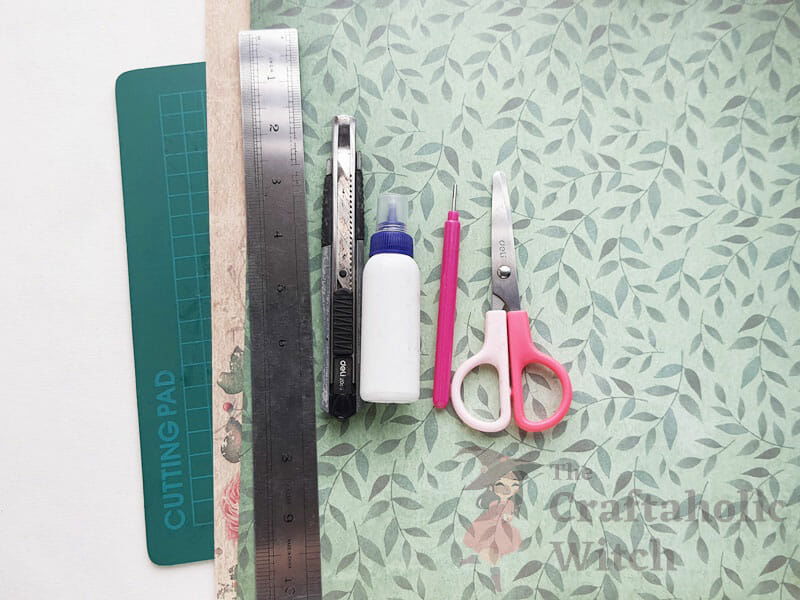
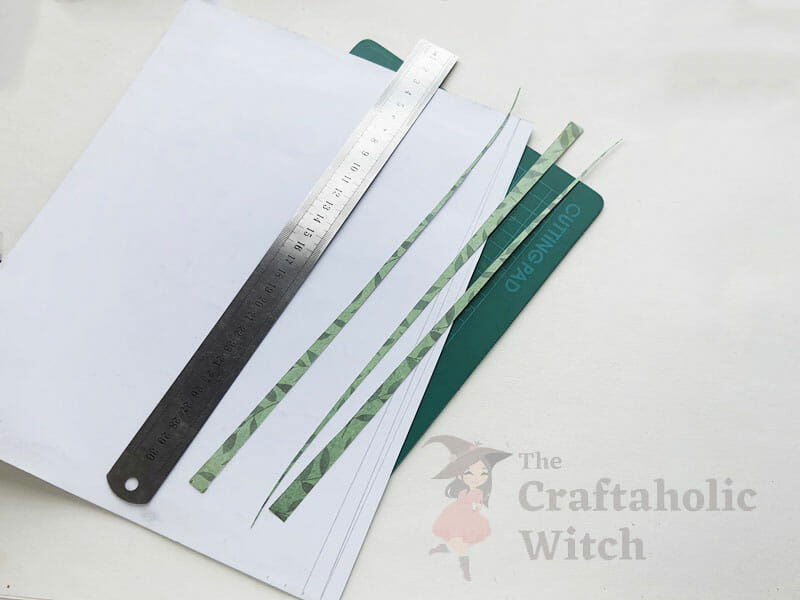
You can use sharp scissors or x-acto knife to cut out the triangle templates for the paper beads. It’s better and easier to use x-acto knife and a ruler to cut out the strips neatly. Keep the traced cardstock papers on the cutting mat while cutting the triangle shapes. Cut a bunch of triangles at once so that you can coil the strips into beads at one go.
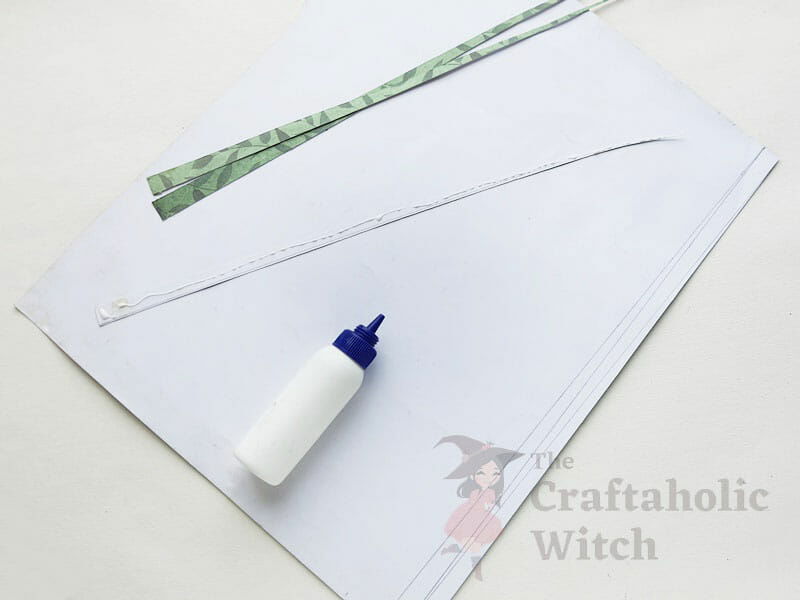
Grab a triangle strip and apply glue along the plain side of the bead. Apply glue from the tip to the bottom 1 cm part, do not leave any space without glue. As we’re making colorful paper beads, we’re keeping the printed (colorful) side facing out but if you want to make white beads, you can use white cardstock paper or craft paper as well.
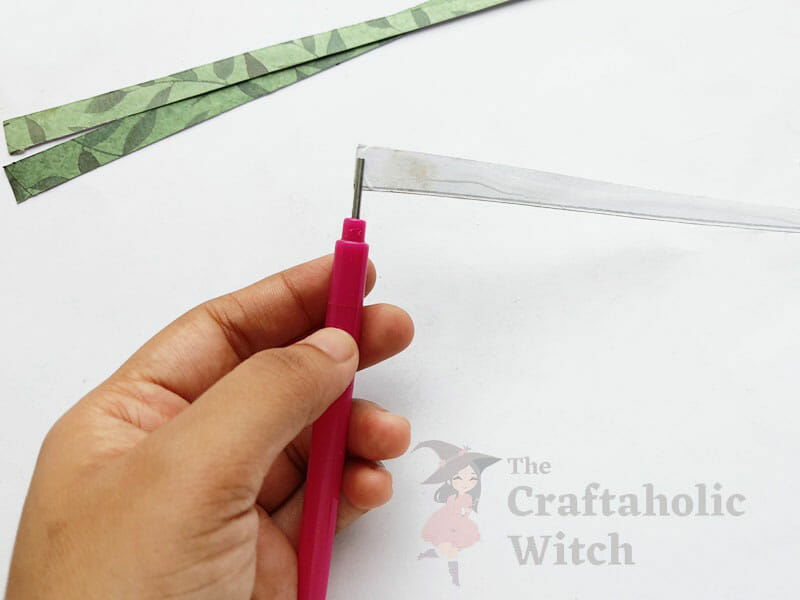
To coil the paper strips we’re using a slotted quilling tool. You can also use a toothpick if you don’t have a slotted quilling tool. Grab the glued strip and insert the wide end (1 cm side) into the slot, slightly.
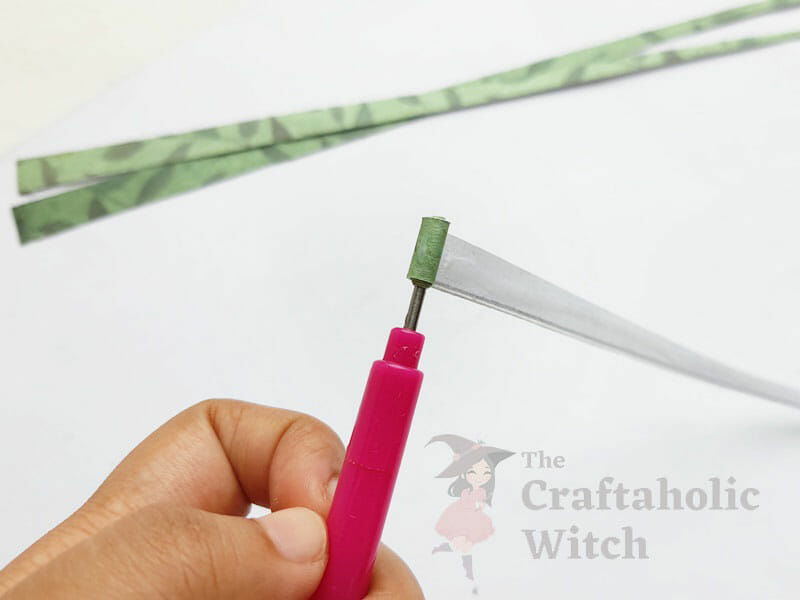
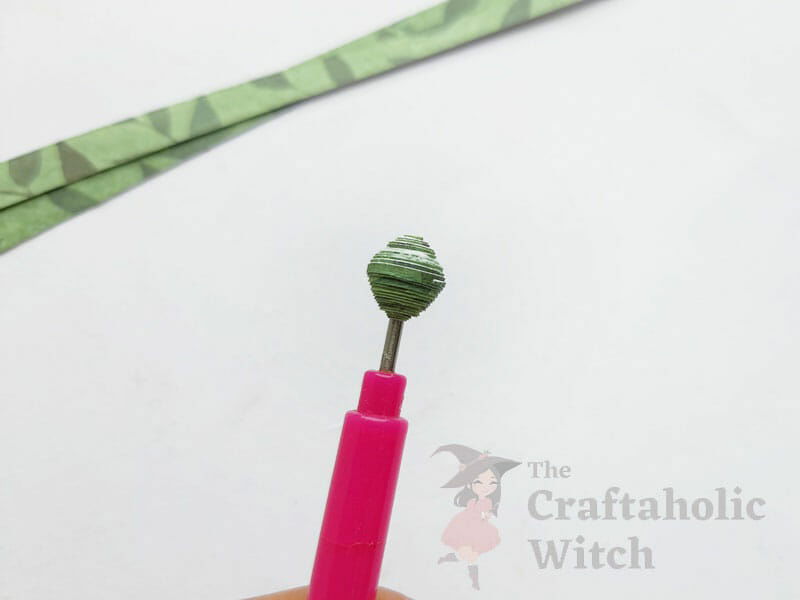
Start to coil the strip nicely and tightly. Make sure to coil the strip around the middle part, this step needs to be maintained strictly to give the bead a round shape.
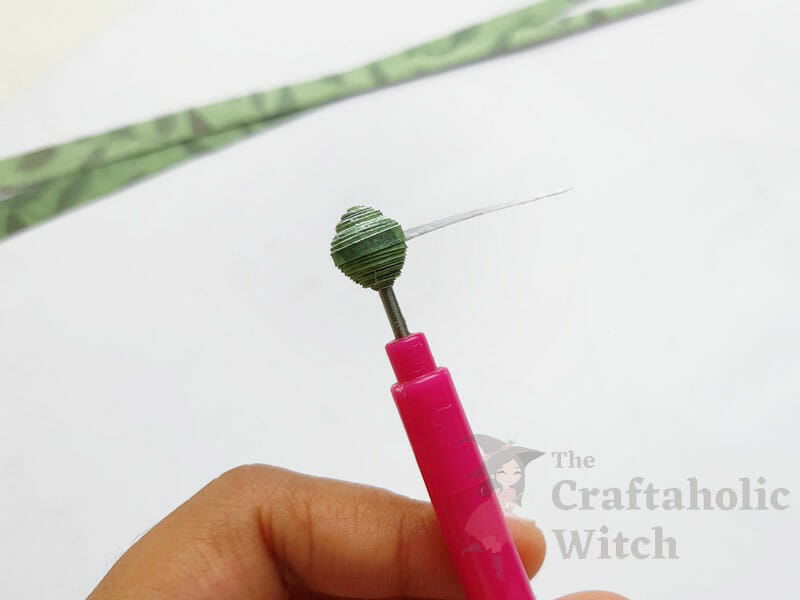
Continue to coil the strip with the help of the slotted quilling tool until the strip comes to its end.
Done coiling the entire strip? Nicely wrap and join the tip of the strip with the coiled paper and then apply a layer of glue on the outer surface of the paper bead before getting it out of the quilling too. Although this step is optional, it will give the bead a nice and secured finishing.
Carefully take the paper bead out of the quilling tool. Push the coiled paper from the inner side and it will pop out easily. Don’t keep the coiled strip in the quilling tool for too long, otherwise, the glue will dry up and the bead might get stuck with the tool, so be quick in this step.
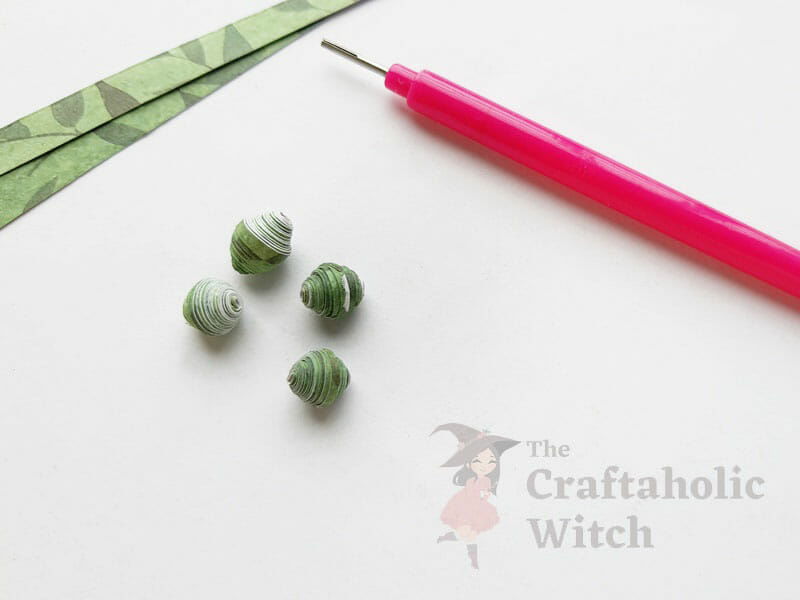
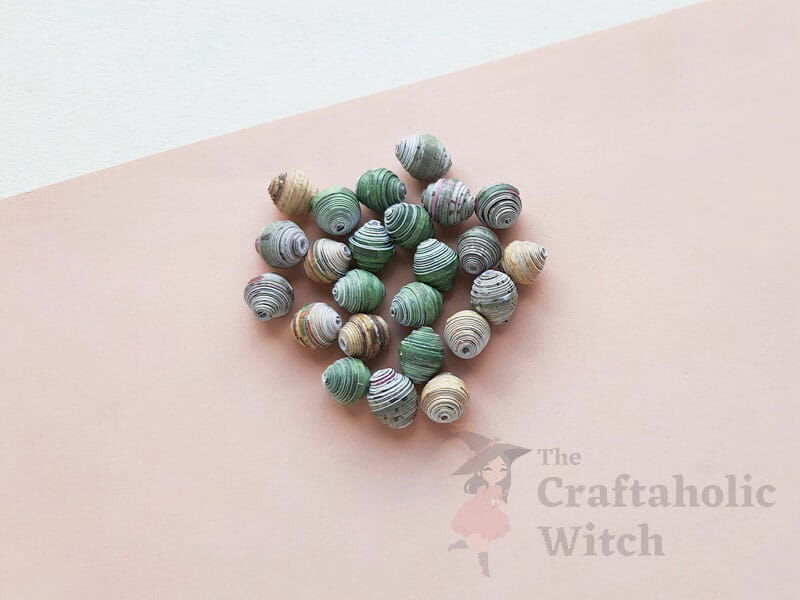
Wasn’t that fun? Simply grab the strips one by one and craft paper beads with them. You can make paper beads of different sizes by measuring and cutting longer strips or cutting the bottom side with more than 1 cm width. You can make paper beads of all sorts of shapes, hopefully, we’ll share tutorials for other shapes soon. We wanted to keep this paper bead making tutorial beginner-friendly and quick, hence we decided to go for the round shape.
The basics for making paper bead jewelry are almost the same as for making other beaded jewelry. However, there are some subtle things that you need to be careful about. Taking those facts into account, we have also added the instructions for making the two most popular paper bead jewelry. Hope you’ll like them.
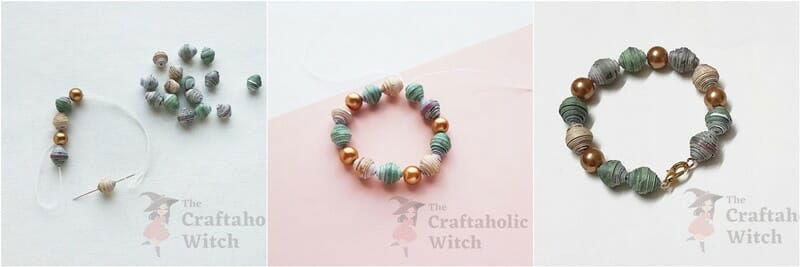
What’s the first thing that comes into your mind when you think of beads? Jewelry, right? Making bracelets with our paper beads is really easy. Grab some beading thread, 2 jump rings, and a lobster claw closure. Thread the paper beads (mixed with other beads to bring variation in the pattern) into the beading thread and continue to bead until it reaches the required length for the bracelet. Attach jump rings on both open ends and then attach a lobster claw with any one of the jump rings to complete the paper bead bracelet.
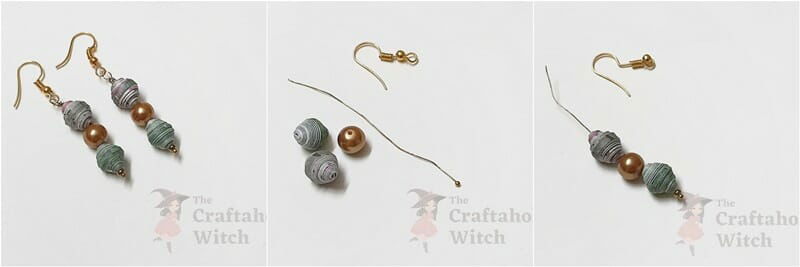
You can use these paper beads to craft earrings of any design, but we’re sharing a simple and easy one for now. You need earring hooks, seed beads, any type of round beads, paper beads, and headpin wire. Insert a seed bead into the headpin wire and then insert 3 or more beads into the wire as you wish. Use the open end of the wire to form a loop and secure the loop by coiling the remaining wire below the loop. Attach the loop with an earring hook to complete the earring. Similarly, craft the other pair of paper bead earrings.
Here are some of our jewelry making tutorials that you may also like.
Paper crafts are always trending and we never get bored of them! We had so much fun making these paper beads and we also hope that you’ll enjoy making them. Don’t forget to share your version of the paper beads or paper bead jewelry pieces with us. Tag us on Facebook or Instagram (use #thecraftaholicwitch) and show us how you’re using the paper beads.